In Charleston, SC, your home’s HVAC is one of the most important appliance systems in the entire house, and there’s a good chance it’s seen a few years of hard work. The Heating and Air Conditioning system, Ventilation, is essential for keeping your family safe and healthy during any month featuring extreme-temperature weather. Your AC keeps you cool in the summer while the heater ensures your home is safely warm in the winter. Even in the comfortable months in-between, running the fan through your air filter and ducts ensures fresh air is constantly circulating through the rooms.
With such an important system, it’s no wonder homeowners pay attention when the HVAC starts to act up. Is your HVAC blowing warm air when it should be cold, or cold air when it should be warm? Is it blowing too weak, or changing modes without instruction, or making unusual sounds? These are all signs that your Charleston, SC HVAC needs inspecting and possibly to be repaired. But before you call the technician, we know that DIY homeowners would like to have a look for themselves.
So today, we’re spotlighting the 8 HVAC troubleshooting steps for Charleston homeowners to DIY before you call the technician. Here’s what you can do if your home HVAC system stops working or is not working correctly:
1) Change Out Your Air Filter
Always start with the air filter. The number-one way that homeowners can improve the efficiency (and stop inefficiency) of HVAC is to make sure there’s a fresh filter. An old, clogged filter will slow the flow if air through the HVAC system, which can overall reduce its ability to heat or cool the house. In addition, a clogged air filter does not filter as effectively, meaning more dust and microorganisms may be flowing through your vents.
If you are dealing with a sluggish HVAC or poor air quality, find your air filter and change it out. Be sure to replace with the correct size of filter and make sure the arrow (on the edge of the filter) is pointing the right direction – into the HVAC. This indicates that the filter is cleaning air flowing from the intake vent into the HVAC system so that only cleaned air cycles again through the house.
We advise stocking up on air filters and changing yours out every 3-6 months.
2) Change Thermostat Batteries
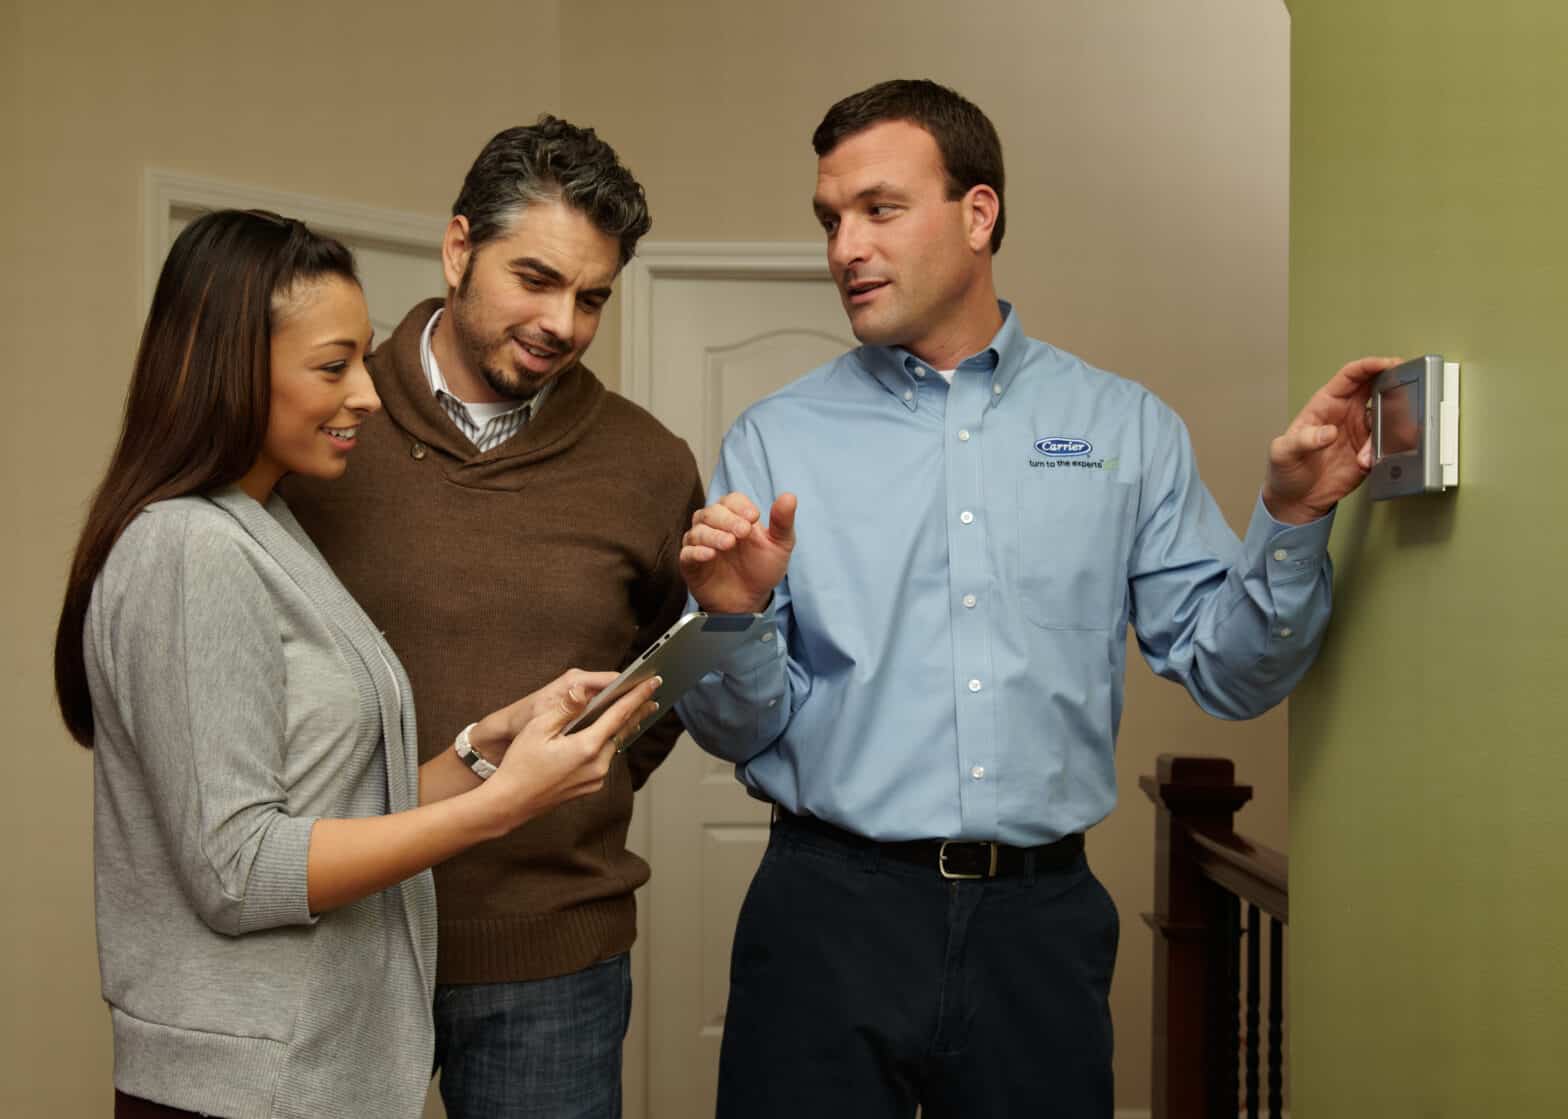
Some thermostats have batteries inside and some are connected to the house power through the wall. Discover which thermostat you have by taking the cover off of the outside. If you find a battery compartment, change out the batteries in your thermostat. This simple troubleshooting step can restore an HVAC that has become unresponsive, or unpredictably responsive.
3) Change Your Thermostat Settings – See What Happens
If your thermostat lights up and is working, change the settings to see what happens. Set the AC to a few degrees colder than the current temp and wait for the AC unit to fire-up. Listen closely to any sounds that ensue. A few clicks followed by whirring fan-noise is normal. Constant clicking, banging, loud noises, or silence are not ideal sounds and may be signs of an internal malfunction,
Find out if changing thermostat settings cause your HVAC to respond appropriately by switching modes and providing the right type of air. If changing thermostat settings has no change, this is a different indication of malfunction.
4) Set to the Fan-Only Setting
Now try the fan-only setting and listen. If your AC or heater specifically are not working, your ventilation system may still be functioning normally. Listen for the fan to start and feel the room-temperature air coming out of the vents. This provides you with constantly filtered and cycled air. If the fan setting does not work, it might be the root of your problem. If the fan-only setting works, then the problem is more likely with the heating or cooling unit specifically.
5) Clear Debris from the Outdoor AC Unit
Most AC designs involve an outdoor AC unit called a Condenser. Ideally, a condenser is placed somewhere safe from garden debris, but not always. If your condenser vents are obstructed by leaves or outdoor trash, then your AC will not be able to work correctly by cycling coolant through the condenser unit.
Head to your outdoor condenser to investigate. Pull fallen leaves out of the vents and remove any sticks that might be blocking the fans inside. If necessary, trim your trees and shrubberies so that they don’t grow or fall into the condenser unit.
6) Check Your HVAC Breaker
If your HVAC has recently stopped working, check the breaker box. Sometimes, power interruptions don’t bring the HVAC back when the power returns. If your breaker was flipped or if you have experienced recent black/brown outs, then your HVAC may not be getting electricity right now. Flip your HVAC breaker fully off and fully back on again. Then check the thermostat and see if your HVAC is responsive again.
7) Clean Your Air Vents
Now take a look at your vents indoors. Most home vents are in the walls up near the ceiling, and we tend to forget all about them. But when those vents get packed with dust on the registers, they can harmful just like an over-full dryer lint trap. Take a duster or cloth to each vent (we advise face coverings during this process) to clean your indoor vent registers. If you see obstructions in the duct, consider a duct cleaning as well.
You may also find that some of your air vents are closed, shutting off circulating air from certain rooms or even preventing air intake. Open these to improve your home’s airflow, energy efficiency, and the performance of your ailing HVAC system.
8) Look for Signs of Dust or Ice Buildup
Last but not least, look for signs of build-up where there shouldn’t be any. The first common problem is dust building up inside your AC or heater units, especially the AC. The second risk is that the AC coolant lines get too cold and start building up ice – which negatively affects the performance. Look for signs of ice inside the HVAC unit (like freezer frost buildup) or ice buildup on the metal coolant pipes near the outdoor unit.
Solving Your Home HVAC Concerns
These troubleshooting steps have the potential to kick your HVAC back into good performance or, barring that, give you a great set of information on what might have gone wrong. DIY solutions are great when they work. And should you need to call a Charleston, SC air conditioning repair service to get your complete heat and air units back into working order, this troubleshooting process will give you all the right information to share to identify the issue before the technician arrives.
For the Charleston, SC HVAC maintenance, repair, and air conditioning installation services your home needs, contact us today and we’ll schedule a preliminary inspection right away.


Excellent! Please Rate us 5-stars
...and leave a helpful review.
Would you recommend Morelli Heating and Air?